
How to Say the R Sound - 11 Proven Speech Therapy Techniques
If you want to know how to say the R Sound you can spend a lot of time searching the internet for an endless amount of information.
One of our main purposes is to find and present the most helpful information to you, remove the fluff, and save you time.
Below you will find a compilation of the top speech therapy techniques for teaching/learning the R Sound.
All techniques come from Certified Speech-Language Pathologists who use and recommend them.

**Before beginning to learn how to say the R Sound**
Disclaimer: The /R/ sound is a later developing sound and may not start developing until between 6 and 8 years old. Starting therapy earlier than 6 years old may not be beneficial.
If you’re not sure if your child is ready to work on the /R/ sound, please consult a licensed Speech-Language Pathologist.
This video and webpage is not to be considered a substitute for Speech Therapy.
Before you start trying to teach someone how to say the R sound, Jessica from The Gift of Gab Speech Therapy recommends to start first with auditory discrimination.
"That means that you need to make sure that your student can hear the difference between 'red' and 'wed', 'rose' and 'wose'."
The first thing to help the student/client hear the difference between the R sound and the W sound.
This list of R/W minimal pairs can help.
After you’ve done some auditory discrimination and practiced listening to what an R sounds like, then start talking about the part of the tongue.
Talking about other parts of the tongue is another step that’s really important NOT to skip.
She uses a mighty mouth puppet and discusses the parts of the mouth that are used to make the R sound.
For R, she spends a lot of time teaching about the tip of the tongue, the sides of the tongue, and the back of the tongue.
She uses a mirror, suckers, fun dip or tongue depressors and spends multiple therapy sessions if more than one lesson is needed.
For example, she will use the sucker to find the places on herself and have her students/clients find it on themselves.
She'll show where her tongue tip is and touch the sucker with it, then have the student/client do the same until they have touched all of the necessary parts (i.e. sides of the tongue, back of the tongue, etc.).
In her experience one activity can take 5-10 minutes depending on the person.


Technique #1
Meredith from Peachie Speechie explains to her students/clients how to say the R sound by showing the sides of their tongue touch the inside of their back teeth when they pull their tongue back.
She demonstrates and focuses on how they should keep their tongue tight, bunched, and high. Once in that position she then tells them to turn their voice on.
"If your tongue isn't high enough or isn't tight enough, it's not going to sound quite right," she explains. "It's going to sound like, "oh", instead of "er".
Technique #2
It's difficult to say the R sound so Kelly from The Speech Scoop suggests using a mirror and/or practicing in the bathroom a few times per day, like before snack time or when brushing teeth.
She teaches R by asking her clients to make a big smile and showing her own lips being open and out and saying the letter "eeee".
She instructs the client focus on how her neck muscles flex and accentuates this characteristic, her lips pull to the side of her face and her tongue is flat.
To do this is, she instructs her clients to make a big smile and say "eeee". Saying "eeee" gives the tongue a lateral position to start in.
She then has her clients alternate between "eeee" and "rrrr" while pointing out what her neck, lips, and tongue are doing.
It is important that the client does not round their lips when trying to say this sound as it will turn into the "oh" sound.
Technique #3
Agnes Hwang teaches her students/clients how to say the R sound by getting them to move their tongue up and down one way or the other to figure out where their tongue is supposed to be to make the perfect sound.
She refers to this technique simply as the "finger trick".
Using her finger as a visual and tactile cue, she will raise her finger up and down to signal to the student/client to move their tongue up and down.
This gives the client a visual reminder and makes it seem like her finger acts as a type of dial to move the tongue up and down.
Technique #4
Carla Butorac's favorite technique for how to say the R sound involves one thing, a dental floss stick.
She gives the student their own stick, has them put their tongue under the floss that is between the prongs, and teaches them, to pull the floss with their tongue back into their mouth.
This technique is a perfect way for her students to feel what shape their tongue should be in to form the exact placement of the R.
"Once they feel for themselves exactly where the placement occurs, they're more likely to be able to reproduce the correct placement themselves."
SEE ALSO: The Best Free App for Speech Therapy


Technique #5
When Emily Perry teaches how to say the R sound, she uses words that end with K and G.
This is because the K and G sounds are created in the back of the mouth so the tongue is already close to the place where R is created.
Whether the R sound is said correctly or incorrectly, the student is still learning to pull the tongue and move backward.
She explains that coarticulation (the blending of two or more speech sounds together, so that one influences the other) can be really helpful when you're working on R.
Technique #6
Speech with Jenn illustrates how to say the R sound by telling her students/clients to think about swallowing their tongue.
This means using all of the mouth muscles to pull your tongue back as far as you can in your mouth.
She says "If your tongue doesn't stay back there and it comes down, you're going to have a sneaky sound that is not a good sound."
Technique #7
Graham Speech Therapy says people learning how to say the R sound get told a lot of information and strategies that can become confusing.
When that happens, she tells her students/clients to forget everything they think they know about how to say the R sound and just move their tongue around in their mouth.
Then when she thinks they have their tongue in the right spot, she has them freeze their tongue and turn their voice on.
She tells them to do 3 things:
1. Make the back of your tongue wide (she refers to this as fat tongue).
2. Pull the tongue back and up so the sides of the back of the tongue are touching the top molars.
3. Make sure the tongue muscle stays strong and tense while remaining wide and touching the top molars.
Once this position is achieved, she has the client/student freeze and turn on their voice.
Technique #8
When teaching how to say the R sound, The Speak Boutique has her students/clients slide from an L to an R. This is called a retroflex R.
L is made with a tip of the tongue and it's made in a very similar manner to retroflex R.
If you curve your tongue far back enough from an L, you can transform the L sound into an R sound.
You might also like:


Technique #9
Speech Pathologist Morgan Martin teaches how to say the r sound using by starting with the G.
The G sound "...happens far back in our throat with our tongue in the back of our mouth." She instructs her students/clients to say the word "grow" because when you say the G sound your tongue is already in the back and can be slid into the R sound.
Morgan also likes to model proper lip shape, and stresses the importance of not rounding their lips.
When a student/client rounds their lips the R sound will come out sounding like an "aw" sound.
Technique #10
Heather from Speech Help for Kids likes to use a spoon to teach her students/clients how to say the R sound correctly.
She holds the spoon near the side of her mouth where her tongue would be and shows that the tongue needs to be flat and partially curves up a little bit.
The focus is placed on the tongue tip being up and the mouth being slightly open.
Then she has students/clients alternate between the "ah" and "eeee" sounds to start. This helps the tongue be in the right place when the student/client is ready to say the R sound.
Technique #11
Ms. Pringle from 7SapulpaSLPs uses the SH sound to help her students/clients learn how to say the R sound.
She refers to the SH sound as the "waterfall sound".
She teaches that when making the "shhhh" sound the sides of the tongue are cupped and already touching the top of the teeth.
Once in that position, she'll have the student/client pull the tongue back slightly from "shhh" into "errr" by slowly saying the word "sure".
She likes using this method be because the SH sound is already almost an R sound.
Bonus Technique
Once a student/client knows the proper tongue shape and placement for how to say the R sound, Christine from SayItRightVideos trains them using the whisper technique.
It involves the student/client repeating the word serious, but using their voice to say part of the word ("ser") and whispering ("ious").
Special Deals and Activities, Oh My!
Sign up for Terrific Therapy Emails
Your information is 100% private & never shared.
Hi! We're Luke and Hollie.
We are both MS CCC-SLPs and fell in love while studying for our degrees. Since then we have done everything together - graduated, worked, and started a family. We spend most of our time with our family and the rest making this site for you.
Top Free
Resources


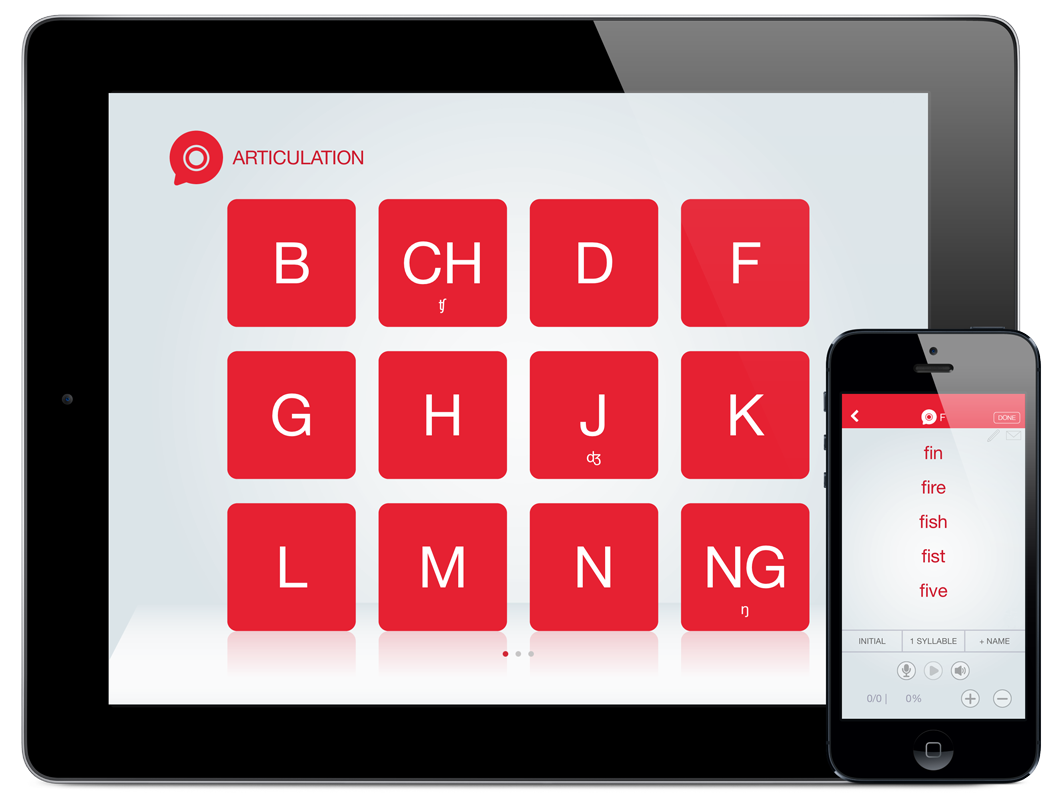
Free Apps
Word Vault Essential
# 1 Chronological Age Calculator

Popular Materials
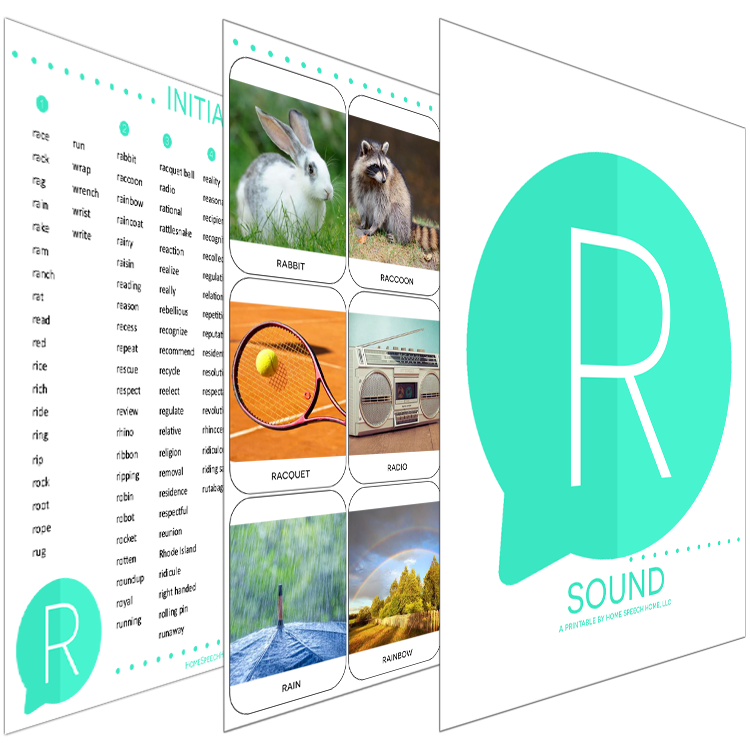
All in One Printable Flashcards
Multiple Meaning Word Mega Pack
Complete Articulation Word Search
New! 111 Articulation Stories

Teaching the Sound Books
Multi-Syllabic Words Flashcards
Apps to Save You Time
& Help Your Clients
Articulation Therapy + Pirate Adventures = Awesomeness!


This App Will Get Your Kids Talking


Your information is 100% private & never shared.
Copyright © 2010 –
HomeSpeechHome.com | All Rights Reserved
This website contains affiliate links, meaning if you buy something from them we may make some money (at no cost to you).
By using our affiliate links, you are helping to support our site which is a U.S.-based, family-run small business :)